Beyond the Scanner: A System for Organizing Your Digital Paperwork
Stop drowning in disorganized scans. Learn how to turn piles of digital receipts and invoices into a structured, searchable library with folders and sheets.
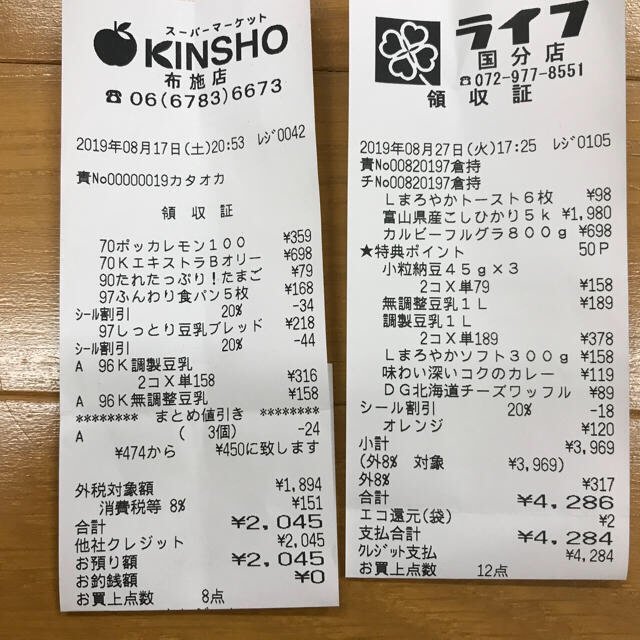
You have a scanner, or maybe just your phone. The paper receipts, invoices, and forms that once cluttered your desk now clutter a folder on your computer. It feels like progress, but when you need to find that one expense from three months ago, you’re back to square one: opening dozens of files named scan_2024-08-17.jpg.
The problem isn’t digitizing the paper; it’s the lack of a system for the digital copies. A folder of images is just a digital pile. To be useful, that data needs to be extracted, structured, and findable. It needs a home.
Here is how a structured workspace functions. You can interact with the example below to see how extracted data is tied directly to the original document. No upload needed.
Each value with a box carries a verified on-page location — bbox + 4-point vertices + match_ratio — on a 0–1000 normalized grid (0,0 top-left → 1000,1000 bottom-right), the same shape the live API returns. Hover a field to trace it back to the pixels it came from.
The answer is to treat your scans not as individual files, but as entries in a database you control. In space-ocr, your workspace is a simple tree of folders and sheets you create. You might make a folder for each client, or one for each financial quarter. It’s your filing cabinet.
Inside a folder, you create a Sheet. Think of it as a spreadsheet template for a specific type of document. For your receipts, you might define columns for Store Name, Date, and Total. You only do this once. From then on, every receipt you drag into that sheet is automatically processed, and the extracted data lands as a new, organized row.
This turns a chaotic process into a routine. A hundred receipts are no longer a hundred files to manage; they are a hundred rows in a single, consistent table. You can even drop in a PDF with multiple pages; each page becomes its own row.
Of course, automated extraction needs to be trustworthy. If the system reads a total as 2,045, how do you know it’s correct? You click the cell. The tool instantly highlights the exact location on the original document image where it found that number. You can see for yourself. If you ever find a mistake, you can correct it by typing directly into the cell. Your manual entry will always override the OCR value.
Every extracted value is backed by an on-page audit trail. The system's language model suggests the text, but the final coordinates are determined by character-by-character matching against the page's OCR symbols. Each value gets a match_ratio score; a score of 0.85 or higher indicates a confident match. This cross-verification step ensures the location data is grounded in the source image, not just an LLM's guess.
This system is built for practical use, which extends to the pricing. It’s a simple pay-as-you-go model at $0.05 per scanned image. Your first 100 scans each month are free, and if an OCR scan fails for any reason, there is no charge. You don't pay for browsing your folders, viewing sheets, or exporting data.
For more regular use, flat-fee plans provide more capacity. The Free plan includes 3 sheets and 1 GB of storage. The Starter plan expands that to 10 sheets and 10 GB for about 400 scans per month, while the Pro plan offers unlimited sheets, 100 GB of storage, and about 1,100 scans per month.
- Create Your First FolderIn your workspace, create a new folder. You might name it after a client, a project, or a time period like 'Q3 Invoices'.
- Create a SheetInside the folder, create a new Sheet. This will hold a specific type of document, like receipts or work orders.
- Define Your ColumnsSet up the columns for the data you want to capture. For an invoice sheet, you might add 'Vendor', 'Invoice Number', 'Date', and 'Total Amount'.
- Upload Your DocumentsDrag and drop your scanned images or PDFs onto the sheet. Each file will be processed and appear as a new row with the columns filled in.
- Verify a ValueClick on any cell in the new rows. The original document image will appear with the corresponding area highlighted, allowing you to instantly verify the extracted data.
- Find What You NeedUse the main search bar at the top to find any document. Type a vendor name or invoice number, and it will take you directly to the right sheet and cell.
What happens if the OCR reads a value incorrectly?
Can I upload my existing PDF files?
How do I get my data out of space-ocr?
What counts as one 'scan' for billing?
Do I need to sign up for a monthly plan?
Is this system only for receipts?
Ready to organize your paperwork?
Build your digital filing cabinet today. Your first 100 scans each month are on us.